# SSM
**Repository Path**: AoDingKun/SSM
## Basic Information
- **Project Name**: SSM
- **Description**: 智能草莓园 - web端,android端,服务器(ssm框架),硬件传感器。(wsn)
- **Primary Language**: Unknown
- **License**: Not specified
- **Default Branch**: master
- **Homepage**: None
- **GVP Project**: No
## Statistics
- **Stars**: 1
- **Forks**: 2
- **Created**: 2019-12-05
- **Last Updated**: 2024-06-22
## Categories & Tags
**Categories**: Uncategorized
**Tags**: None
## README
### 前言
首先贴上项目目录:
- 父工程:
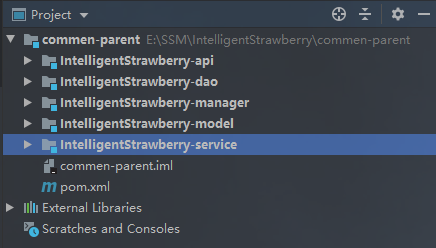
- api:
- model:
- dao层:
- service层:
- manager:
- 个人一点理解:
dao层的mapper从数据库获取数据,再传给service层,service再给controller。
### 1、准备
- idea-2019
- maven-3.6.1
- tomcat-9.0
- java-1.8
### 2、搭建项目目录
- 创建空项目,项目名随意,这里是:`IntelligentStrawberry`
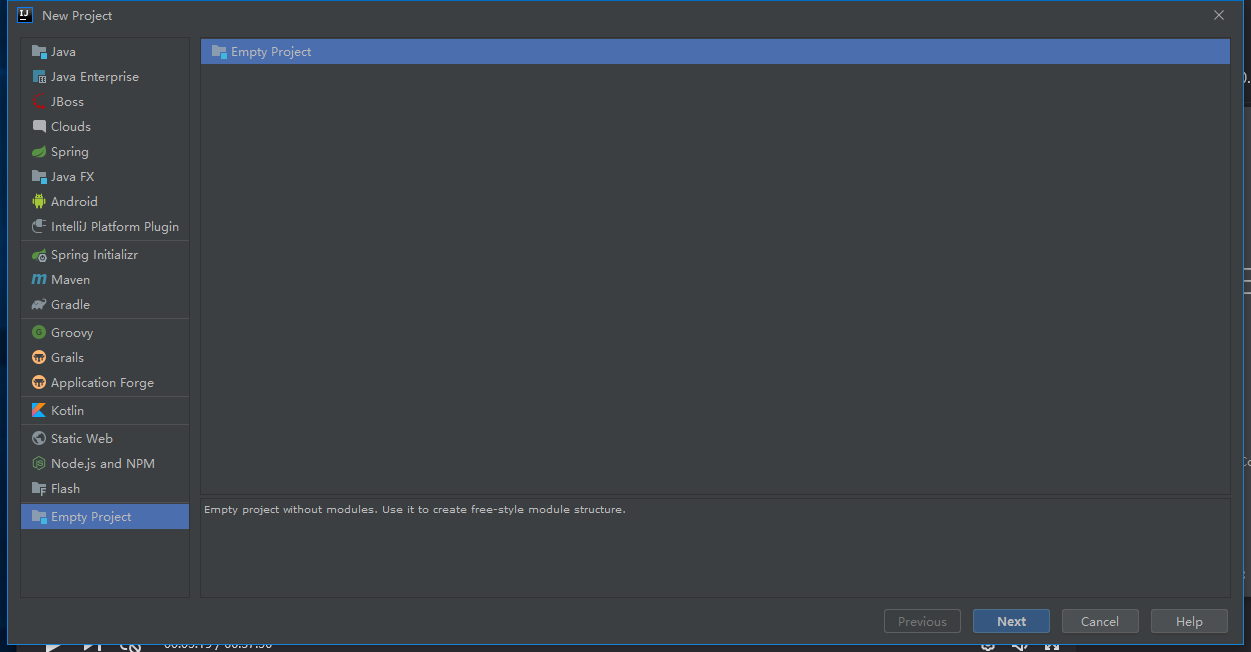
创建好项目之后,弹出该界面,先不用管。
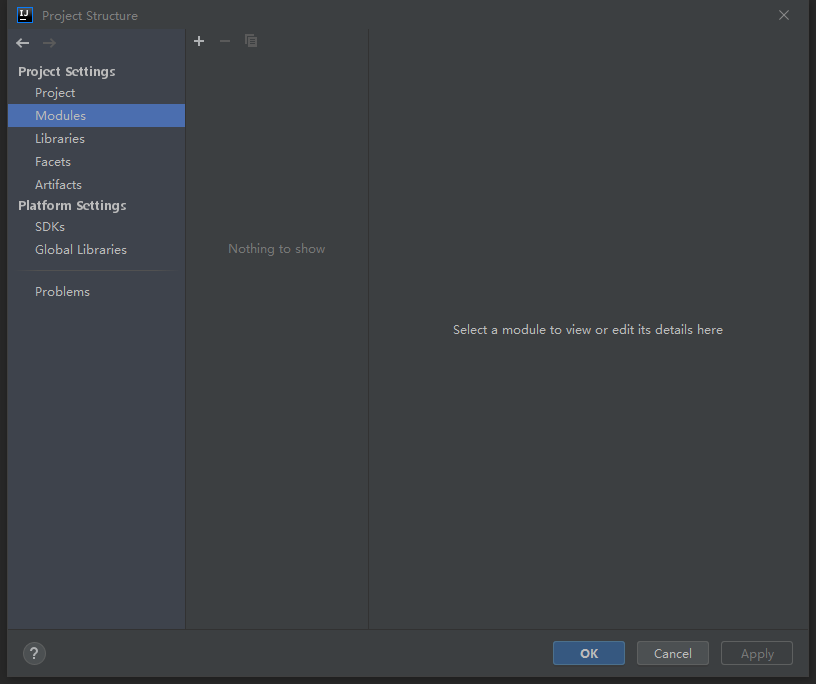
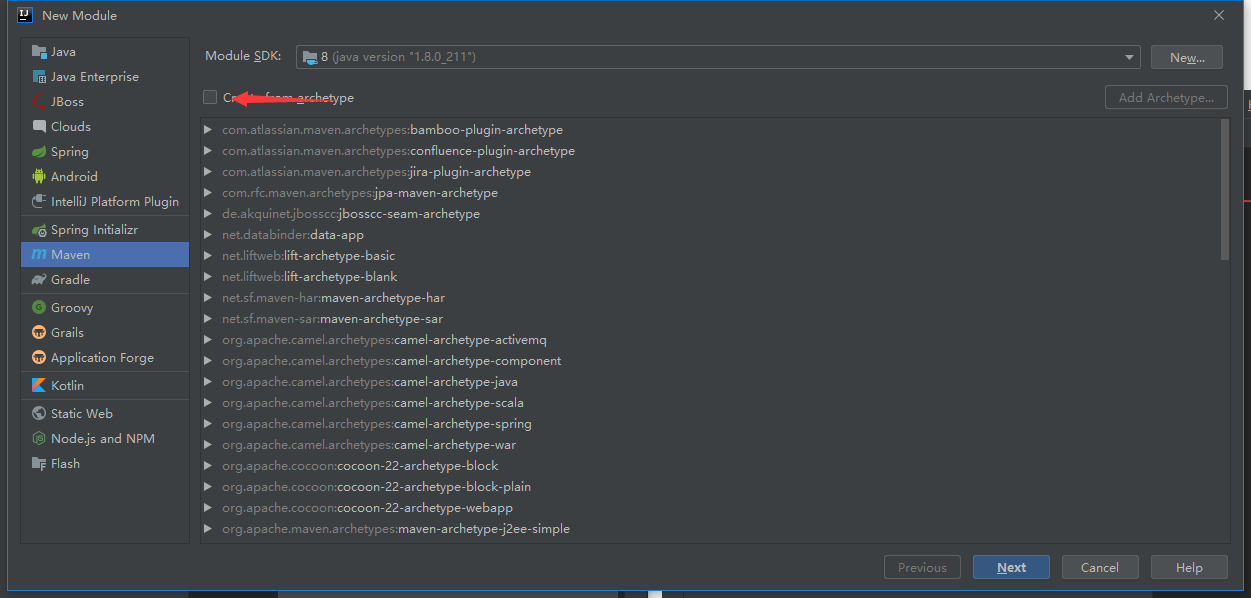
- 创建父工程工程:`file-new-model`
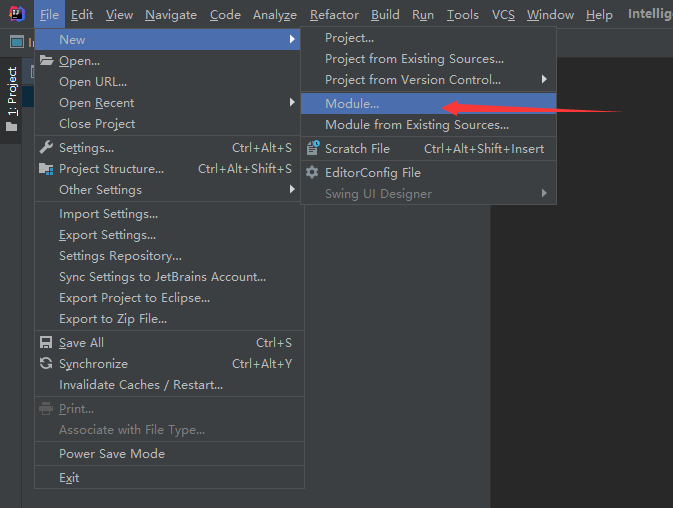
不勾选(create from archetype)
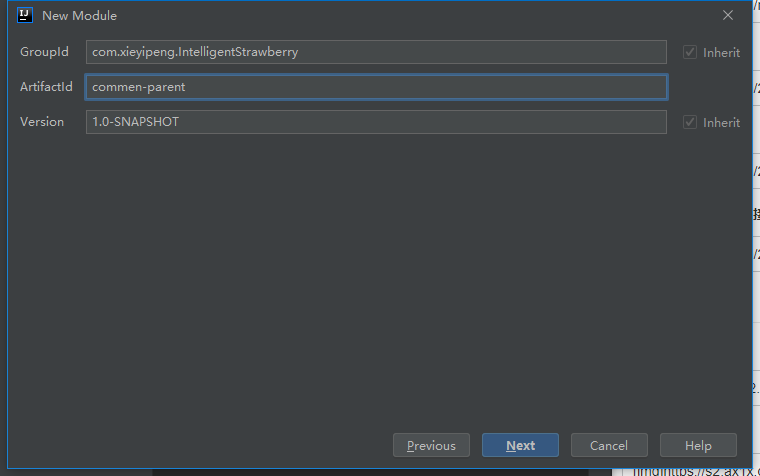
组id与项目id
自动导入maven

- 父工程不写代码,直接删掉父工程的src目录
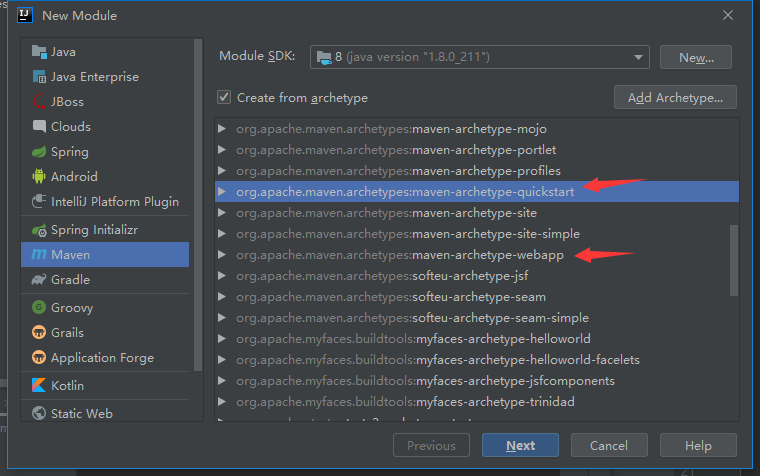
- 右键父工程,创建子工程(new-model)
需要创建model,dao,service,manager,api几个子工程
| 子工程名 | 是否勾选create from archetype | quickstart/webapp |
| ----------------------------- | ----------------------------- | ----------------- |
| IntelligentStrawberry-model | 是 | quickstart |
| IntelligentStrawberry-dao | 是 | quickstart |
| IntelligentStrawberry-service | 是 | quickstart |
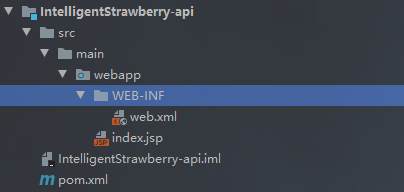
| IntelligentStrawberry-manager | 是 | webapp |
| IntelligentStrawberry-api | 是 | webapp |
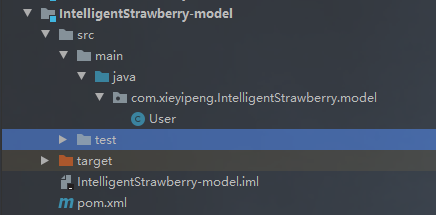
- 在model工程下创建模型类:`model.User`
`User.java:`
```java
package com.xieyipeng.IntelligentStrawberry.model;
public class User {
private int id;
private String username;
private String password;
public int getId() {
return id;
}
public void setId(int id) {
this.id = id;
}
public String getUsername() {
return username;
}
public void setUsername(String username) {
this.username = username;
}
public String getPassword() {
return password;
}
public void setPassword(String password) {
this.password = password;
}
@Override
public String toString() {
return "User{" +
"id=" + id +
", username='" + username + '\'' +
", password='" + password + '\'' +
'}';
}
}
```
- 创建完成的项目结构`api(为安卓,ios提供接口,个人认为是为了和前端界面分开,才没有合并在manager)子工程可要可不要`:

- 更改打包方式,修改父工程pom文件,添加:
```xml
pom
```
添加完成后,父工程pom如下:
```xml
4.0.0
com.xieyipeng.IntelligentStrawberry
commen-parent
1.0-SNAPSHOT
IntelligentStrawberry-model
IntelligentStrawberry-dao
IntelligentStrawberry-service
IntelligentStrawberry-manager
IntelligentStrawberry-api
pom
```
- 在 model | service | dao 的pom文件中添加
```xml
jar
```
`pom(model) 其余类似位置:`
```xml
4.0.0
com.xieyipeng.IntelligentStrawberry
IntelligentStrawberry-model
1.0-SNAPSHOT
jar
IntelligentStrawberry-model
http://www.example.com
UTF-8
1.7
1.7
...
...
...
...
```
- 抽取公共依赖(**删除**子工程的所共有的依赖(junit),放到父工程的pom中):
父工程pom:
```xml
4.0.0
com.xieyipeng.IntelligentStrawberry
commen-parent
1.0-SNAPSHOT
IntelligentStrawberry-model
IntelligentStrawberry-dao
IntelligentStrawberry-service
IntelligentStrawberry-manager
IntelligentStrawberry-api
pom
4.11
4.3.14.RELEASE
3.4.1
1.3.1
1.2.17
1.7.12
1.2
1.1.2
0.9.5.2
5.1.35
2.5.4
junit
junit
${junit.version}
test
```
### 3、为manager工程集成springMVC
- 关联父工程:为manager,api,dao,service子工程pom添加:
```xml
commen-parent
com.xieyipeng.IntelligentStrawberry
1.0-SNAPSHOT
```
如下:
```xml
commen-parent
com.xieyipeng.IntelligentStrawberry
1.0-SNAPSHOT
4.0.0
com.xieyipeng.IntelligentStrawberry
IntelligentStrawberry-manager
1.0-SNAPSHOT
war
IntelligentStrawberry-manager Maven Webapp
http://www.example.com
...
...
...
...
```
- 父工程pom添加公共版本号管理
```xml
4.11
4.3.14.RELEASE
3.4.1
1.3.1
1.2.17
1.7.12
1.2
1.1.2
0.9.5.2
5.1.35
2.5.4
```
(只有manager才需要用springMVC的东西)
- 编辑manager的pom文件,添加依赖:
```xml
org.springframework
spring-context
4.3.14.RELEASE
org.springframework
spring-aop
${spring.version}
org.springframework
spring-aspects
${spring.version}
org.springframework
spring-beans
${spring.version}
org.springframework
spring-context
${spring.version}
org.springframework
spring-core
${spring.version}
org.springframework
spring-expression
${spring.version}
org.springframework
spring-jdbc
${spring.version}
org.springframework
spring-orm
${spring.version}
org.springframework
spring-tx
${spring.version}
org.springframework
spring-test
${spring.version}
org.springframework
spring-web
${spring.version}
org.springframework
spring-webmvc
${spring.version}
```
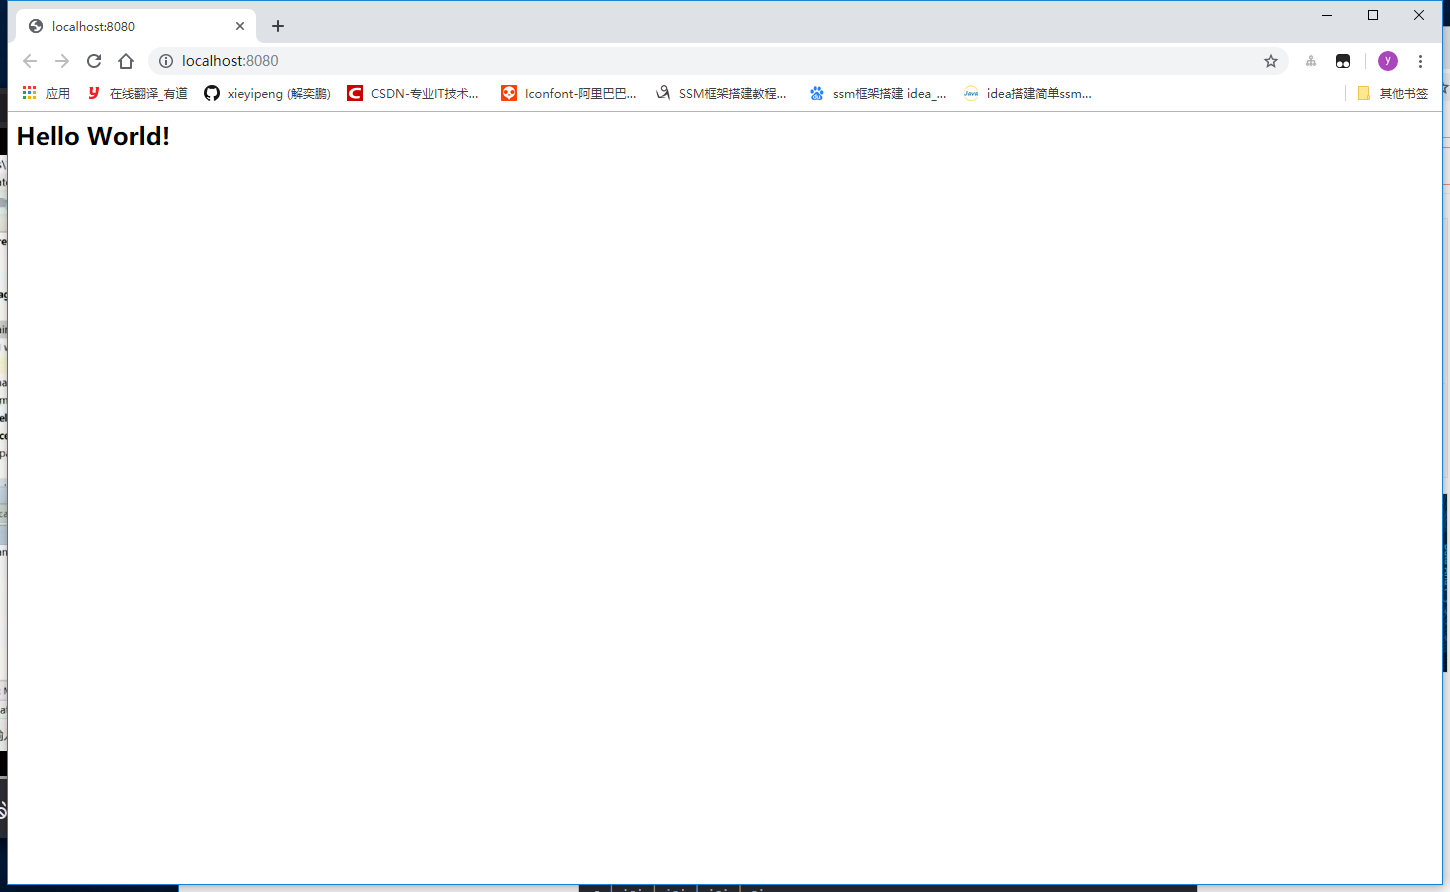
### 配置tomcat运行
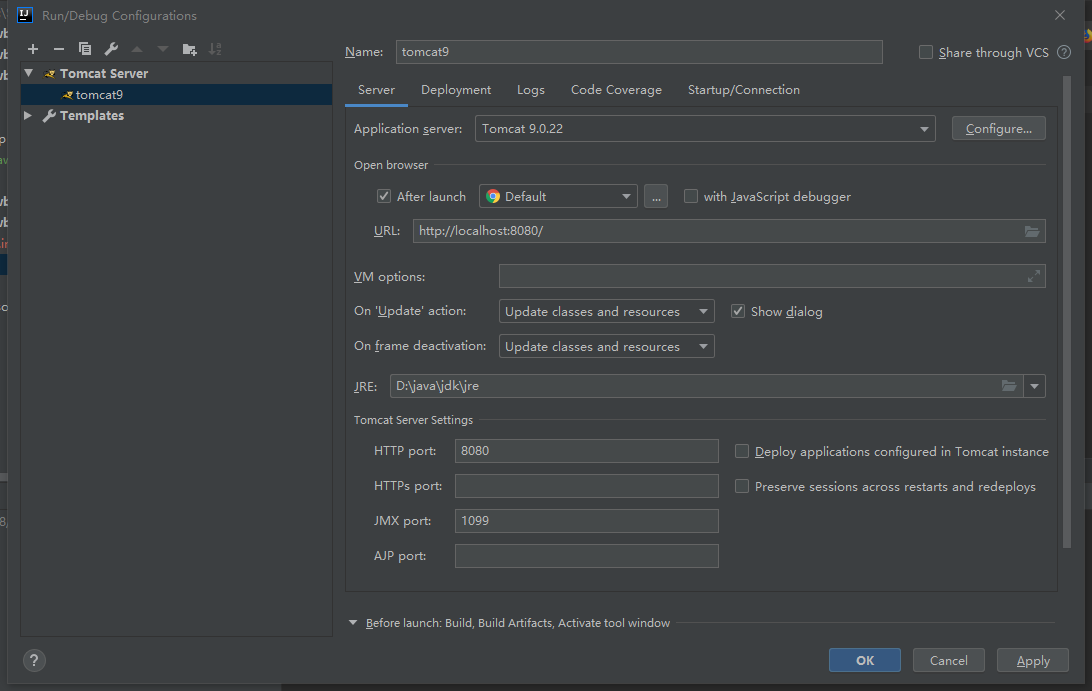

- 点击run运行即可
出现:
### mvc配置文件
- 为manager工程添加java包和resources包,并**标记工作目录**
- 在resources下新建springmvc.xml:**(记着修改标了修改的地方)**,并创建(/WEB-INF/views/)文件夹。
```xml
```
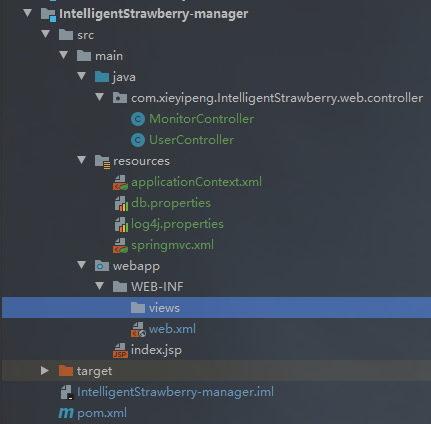
- 在manager工程的(\main\java\com\xieyipeng\IntelligentStrawberry\web\controller)下创建`UserController`
`UserController`:
**- 代码仅作测试使用 -**
```java
package com.xieyipeng.IntelligentStrawberry.web.controller;
import org.springframework.stereotype.Controller;
import org.springframework.web.bind.annotation.RequestMapping;
@Controller
@RequestMapping("user")
public class UserController {
//测试springmvc -- 输出: ...
@RequestMapping("login")
public String login(){
System.out.println("...");
return null;
}
}
```
- 在manager的web.xml文件下加载SpringMVC配置文件
web.xml:
```xml
Archetype Created Web Application
DispatcherServlet
org.springframework.web.servlet.DispatcherServlet
contextConfigLocation
classpath:springmvc.xml
1
DispatcherServlet
*.do
```
- 运行项目(http://localhost:8080/user/login.do)
> 网页:
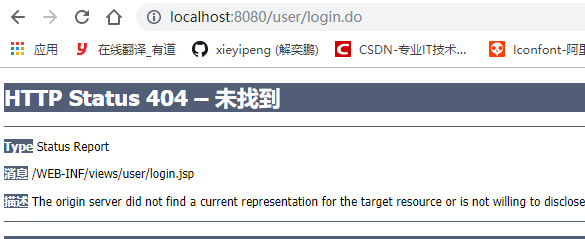
> 控制台输出:
说明springmvc配置成功
**(webapp里面用service,service里用dao)**
### 整合dao
- 编辑dao工程下的pom.xml:
添加依赖:
```xml
IntelligentStrawberry-model
com.xieyipeng.IntelligentStrawberry
1.0-SNAPSHOT
```
pom.xml:
```xml
commen-parent
com.xieyipeng.IntelligentStrawberry
1.0-SNAPSHOT
4.0.0
IntelligentStrawberry-dao
...
IntelligentStrawberry-model
com.xieyipeng.IntelligentStrawberry
1.0-SNAPSHOT
...
```
- 加载mapper的xml文件:
dao的pom中添加:
pom.xml:
```xml
src/main/java
**/*.xml
...
```
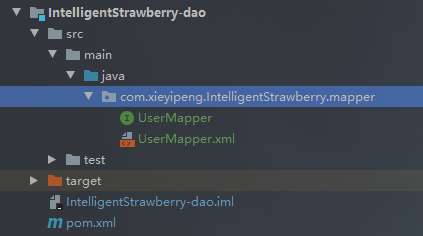
- 在(IntelligentStrawberry-dao\src\main\java\com\xieyipeng\IntelligentStrawberry)下新建mapper.UserMapper:(接口)
UserMapper:
```java
package com.xieyipeng.IntelligentStrawberry.mapper;
import com.xieyipeng.IntelligentStrawberry.model.User;
import java.util.List;
public interface UserMapper {
List findAll();
}
```
同级目录下新建UserMapper的实现:
UserMapper.xml:
```xml
```
- 解决http://mybatis.org/dtd/mybatis-3-mapper.dtd报红问题:
导入:mybatis.jar包:导入dao.pom中:
```xml
org.mybatis
mybatis
${mybatis.version}
```
**service依赖dao**
### 整合service
- service.pom添加依赖dao:
```xml
IntelligentStrawberry-dao
com.xieyipeng.IntelligentStrawberry
1.0-SNAPSHOT
```
pom.xml:
```xml
commen-parent
com.xieyipeng.IntelligentStrawberry
1.0-SNAPSHOT
4.0.0
...
IntelligentStrawberry-dao
com.xieyipeng.IntelligentStrawberry
1.0-SNAPSHOT
...
```
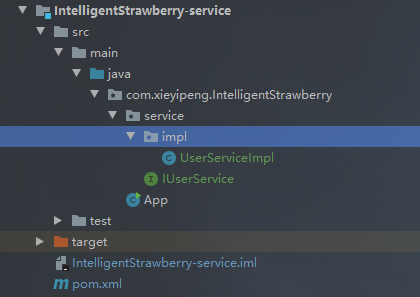
- service下新建(\main\java\com\xieyipeng\IntelligentStrawberry\service\IUserService.java)接口:
IUserService:
```java
package com.xieyipeng.IntelligentStrawberry.service;
import com.xieyipeng.IntelligentStrawberry.model.User;
import java.util.List;
public interface IUserService {
public List findAll();
}
```
- 新建实现类:(\main\java\com\xieyipeng\IntelligentStrawberry\service\impl\UserServiceImpl.java)
```java
package com.xieyipeng.IntelligentStrawberry.service.impl;
import com.xieyipeng.IntelligentStrawberry.mapper.UserMapper;
import com.xieyipeng.IntelligentStrawberry.model.User;
import com.xieyipeng.IntelligentStrawberry.service.IUserService;
import org.springframework.beans.factory.annotation.Autowired;
import org.springframework.stereotype.Service;
import org.springframework.transaction.annotation.Transactional;
import java.util.List;
@Service
@Transactional
public class UserServiceImpl implements IUserService {
@Autowired
public UserMapper userMapper;
@Override
public List findAll() {
return userMapper.findAll();
}
}
```
- service中添加spring依赖(目的:添加一些注释):
service的pom中添加:
```xml
org.springframework
spring-beans
${spring.version}
org.springframework
spring-context
${spring.version}
org.springframework
spring-tx
${spring.version}
```
- 修改IUserServiceImpl:
```java
package com.xieyipeng.IntelligentStrawberry.service.impl;
import com.xieyipeng.IntelligentStrawberry.mapper.UserMapper;
import org.springframework.beans.factory.annotation.Autowired;
import org.springframework.stereotype.Service;
import org.springframework.transaction.annotation.Transactional;
@Service
@Transactional
public class IUserServiceImpl {
@Autowired
public UserMapper userMapper;
}
```
### 后台整合
- 添加其他依赖
manager的pom.xml添加依赖:
```xml
IntelligentStrawberry-service
com.xieyipeng.IntelligentStrawberry
1.0-SNAPSHOT
org.mybatis
mybatis-spring
${mybatis-spring.version}
mysql
mysql-connector-java
${mysql.version}
com.mchange
c3p0
${c3p0.version}
jstl
jstl
${jstl.version}
taglibs
standard
${taglibs.version}
log4j
log4j
${log4j.version}
org.slf4j
slf4j-api
${slf4j.version}
org.slf4j
slf4j-log4j12
${slf4j.version}
javax.servlet
javax.servlet-api
3.1.0
provided
javax.servlet.jsp
javax.servlet.jsp-api
2.3.1
provided
org.json
json
20140107
com.alibaba
fastjson
1.2.28
```
- UserController中添加自动注入UserService:
```java
package com.xieyipeng.IntelligentStrawberry.web.controller;
import com.xieyipeng.IntelligentStrawberry.model.User;
import com.xieyipeng.IntelligentStrawberry.service.IUserService;
import org.json.JSONObject;
import org.springframework.beans.factory.annotation.Autowired;
import org.springframework.stereotype.Controller;
import org.springframework.web.bind.annotation.RequestMapping;
import org.springframework.web.bind.annotation.ResponseBody;
import java.util.List;
@Controller
@RequestMapping("user")
public class UserController {
@Autowired
private IUserService userService;
//测试springmvc -- 输出: ...
@RequestMapping("login")
public String login() {
System.out.println("...");
return null;
}
@RequestMapping("findAll")
@ResponseBody
public String findAll() {
List users = userService.findAll();
if (users != null) {
/**
for (int i = 0; i < users.size(); i++) {
System.out.println(users.get(i));
}
**/
JSONObject map = new JSONObject(true);
map.put("count", users.size());
map.put("code", 0);
map.put("msg", "");
map.put("data", users);
return map.toString();
} else {
System.out.println("user size == null!");
}
return null;
}
}
```
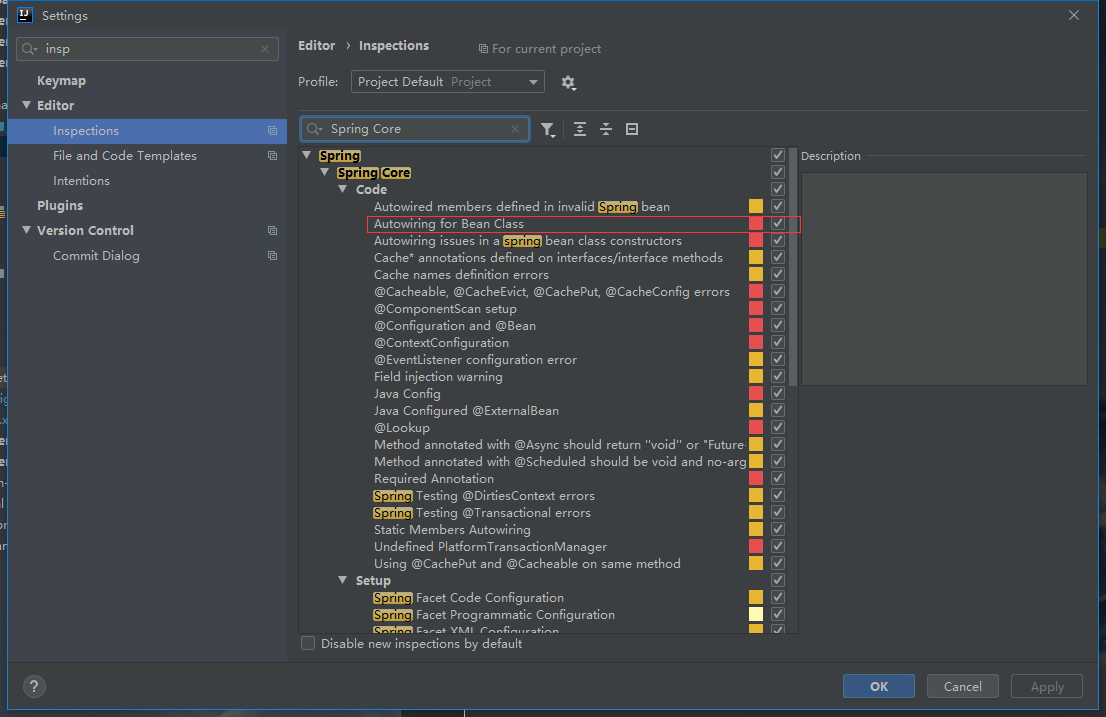
- 解决userService报红:
取消检查,去掉对勾:
- 其他配置文件:
放到manager的resources文件夹下:
applicationContext.xml:
```xml
```
db.properties:
```java
jdbc.driver=com.mysql.jdbc.Driver
jdbc.url=jdbc:mysql://localhost:3306/strawberryframsystem
jdbc.username=***
jdbc.password=***
```
log4j.properties:
```xml
# Global logging configuration
log4j.rootLogger=DEBUG, stdout
# Console output...
log4j.appender.stdout=org.apache.log4j.ConsoleAppender
log4j.appender.stdout.layout=org.apache.log4j.PatternLayout
log4j.appender.stdout.layout.ConversionPattern=%5p [%t] - %m%n
```
manager的webapp下的web.xml添加配置spring:
web.xml:
```xml
Archetype Created Web Application
contextConfigLocation
classpath:applicationContext.xml
org.springframework.web.context.ContextLoaderListener
DispatcherServlet
org.springframework.web.servlet.DispatcherServlet
contextConfigLocation
classpath:springmvc.xml
1
DispatcherServlet
*.do
```
- 之后运行结果:
