# Ngui
**Repository Path**: mirrors/Ngui
## Basic Information
- **Project Name**: Ngui
- **Description**: Ngui 是一个 GUI 的排版显示引擎和跨平台的 GUI 应用程序开发框架,基于 Node.js/OpenGL
- **Primary Language**: HTML/CSS
- **License**: BSD-3-Clause
- **Default Branch**: master
- **Homepage**: https://www.oschina.net/p/ngui
- **GVP Project**: No
## Statistics
- **Stars**: 5
- **Forks**: 2
- **Created**: 2017-11-21
- **Last Updated**: 2025-10-11
## Categories & Tags
**Categories**: Uncategorized
**Tags**: None
## README
Quark
===============
Quark 是一个跨平台(`Android`/`iOS`/`Mac`/`Linux`)的前端开发框架。核心代码使用 C++ 编写,底层基于 OpenGL 绘制,上层实现了精简的排版引擎和 JS/JSX 运行环境。目标是在此基础上开发兼顾开发速度和运行效率的 GUI 应用。
* 从这里,[`Go API Index`](http://quarks.cc/doc/) 可以转到 `API 文档索引`
|  |  |  |
|--|--|--|
源码构建
===============
1. 构建必须依赖的 `Xcode` / `JDK` / `Android-SDK` / `python` / `nodejs`
2. 设置环境变量 `ANDROID_SDK` 和 `NDK` 目录
3. 拉取依赖库,执行 `make sync`
编译安装qkmake,执行`make all`或者`make install`,需要比较长的时间。
这里获取 [`Source code`] 从 `Github`。
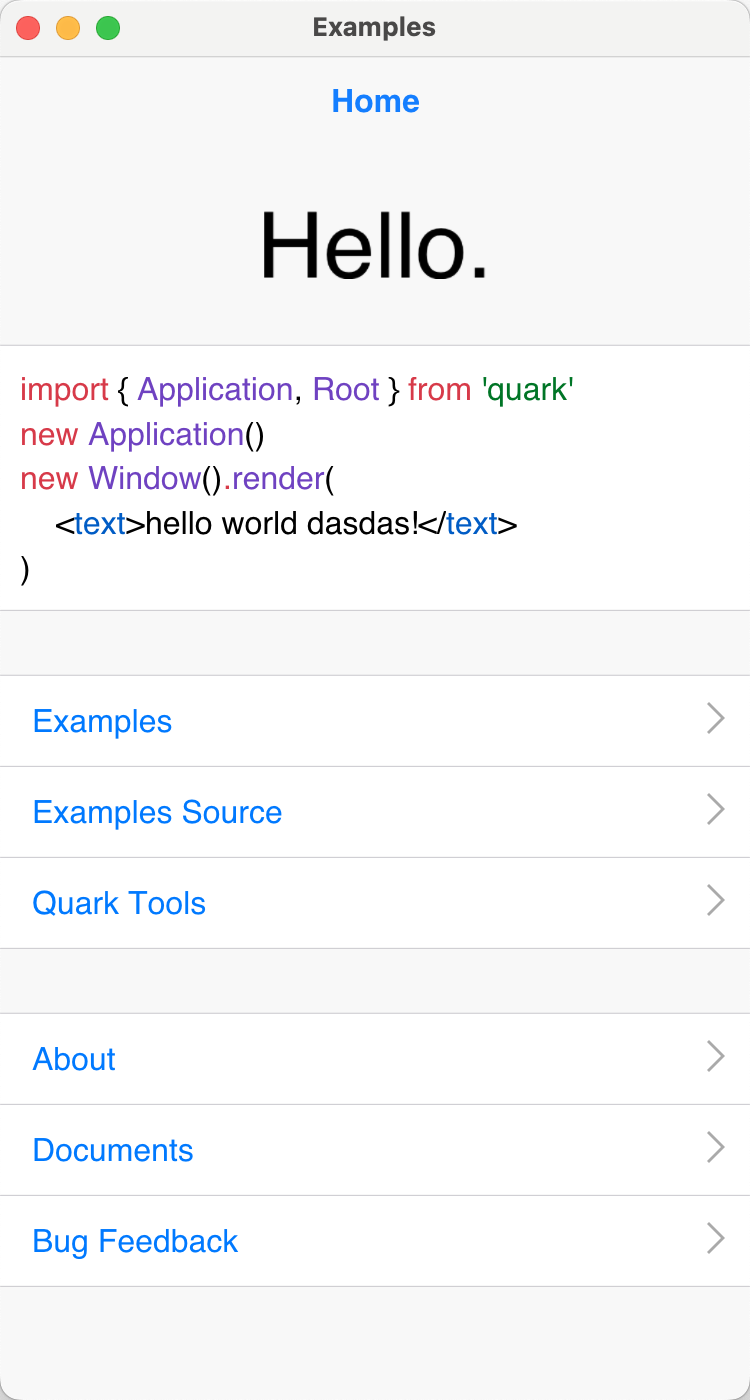
# 简单示例
这是一个在屏幕上显示 Hello world 的简单程序
```tsx
import { Jsx,Application,Window } from 'quark'
new Application();
new Window().render(
);
```
您可以获得更详细的[`Examples`]
# 开始使用
如果您以前从未使用过 Quark,您可以从这里开始逐步构建您的 Quark 程序。
## 从npm安装qkmake
首先,你需要安装`Quark`提供的工具包
* 使用 nodejs `npm` 安装 `qkmake`
* 打开 `Terminal` 并执行以下命令:
```sh
# shell
$ sudo npm install -g qkmake
```
* 运行 `qkmake` 需要依赖 `nodejs` 和 `python`
* 目前不支持 `windows` 系统,需要在 `mac` 系统下使用
## 使用qkmake工具创建新项目
使用以下 `shell` 命令创建一个新的 `Quark` 项目:
```sh
# shell
$ mkdir myproj
$ cd myproj
$ qkmake init
```
## 构建项目
此步骤会压缩并打包项目内的 JavaScript 代码和资源文件。
如果是新项目,您可以跳过此步骤,直接进入下一步。
```sh
# shell
$ qkmake build
```
## 导出项目
这一步导出[`Xcode`]或者[`Android Studio`]项目,因为最终发布的程序会是`.apk`或者`.ipa`
```sh
# shell
# export xcode ios project
$ qkmake export ios
# export android studio project
$ qkmake export android
```
导出项目后,会在项目根目录下生成`project/ios`与`project/android`分别对应[`Xcode`]工程与[`Android Studio`]工程。
## 测试http服务器
`qkmake` 提供了一个测试 http 服务器,每次修改 `ts` 或 `tsx` 代码时,会通知连接到此服务器的设备,把应用启动地址设置成调试服务器地址,这样可以在代码发生改变时自动更新界面,而无需重新启动应用。
在导出项目时会自动把启动地址设置这个调式地址,所大部分情况下不需要修改,除非想连接到其它地方。
执行以下代码启动服务器:
```sh
# shell
$ qkmake watch
# Start web server:
# http://192.168.1.200:1026/
# Watching files change:
```
# 视图布局
视图用来描述屏幕上所有可见的元素,并且也是事件的响应者,这些事件由硬件以及操作系统触发。
详细的API文档请大家去这里[View]查阅。
以下是现在提供的所有[View]与继承关系:
* [ScrollView]
* [MatrixView]
* [TextOptions]
* [View]
* [Sprite]<[MatrixView]>
* [Spine]<[MatrixView]>
* [Box]
* [Flex]
* [Flow]
* [Free]
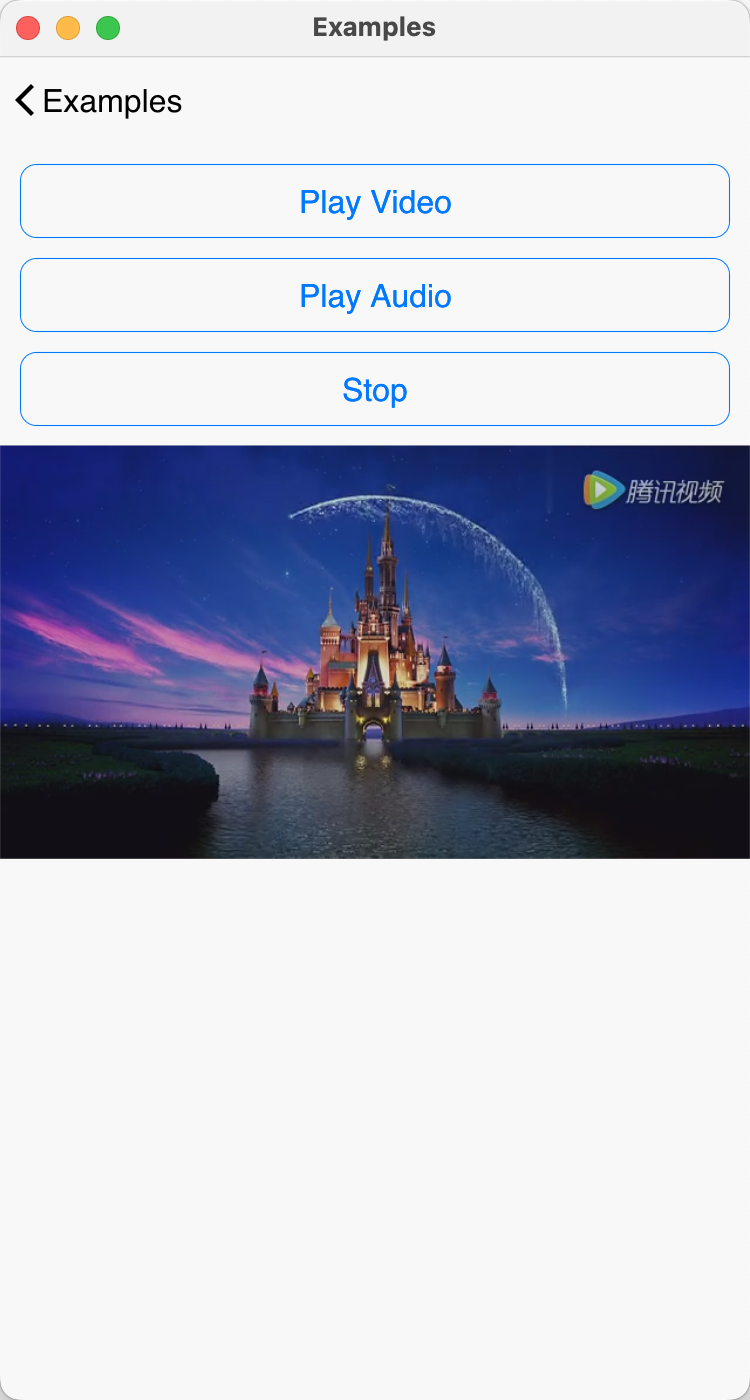
* [Image]
* [Video]
* [Input]<[TextOptions]>
* [Textarea]<[ScrollView]>
* [Scroll]<[ScrollView]>
* [Text]<[TextOptions]>
* [Button]
* [Matrix]<[MatrixView]>
* [Root]
* [Label]
这有点像HTML布局:
```tsx
import {Jsx,Application,Window} from 'quark'
new Application()
new Window().render(
)
```
# CSS样式表
* 这与`HTML/CSS`的样式表非常类似,但现在的只支持`class`并不支持`id`与`tagName`
* 样式表的数据结构其实是个树状结构,每个具名的样式表都可以有子样式表,子级样式表以空格区分且级数没有限制但理论来说越多的级数查询的速度也会越慢。
* 每个样式表可以指定一个时间`time`(毫秒)表示切换到此样式表的过渡时间,如果没指定表示没有过渡。
其实过渡触发时会创建一个动作并播放此动作。
* 样式表现在有三个伪类状态:
1. `normal` 光标或触摸离开(一般状态)时
2. `hover` 光标进入或者焦点进入时
3. `action` 光标按下时或者触摸离开时
下面是样式表的写法:
```tsx
import { Jsx, createCss } from 'quark';
createCss({
'.a': {
width: 'match',
textLineHeight: 45,
textWhiteSpace: 'pre',
textSize: 16,
},
'.a:normal': {
textColor: '#0f0',
},
'.a:hover': {
textColor: '#f0f',
},
'.a:active': {
textColor: '#f00',
},
'.a .b': {
textSize: 20,
},
'.a:normal .b': {
time: 500, // 设置一个过渡时间
textColor: '#000',
},
'.a:hover .b': {
time: 500,
textColor: '#f00',
},
'.a:action .b:action': { // 这条规则无效,伪类不能存在子伪类
time: 500,
textColor: '#f0f',
},
});
const vx = (
);
```
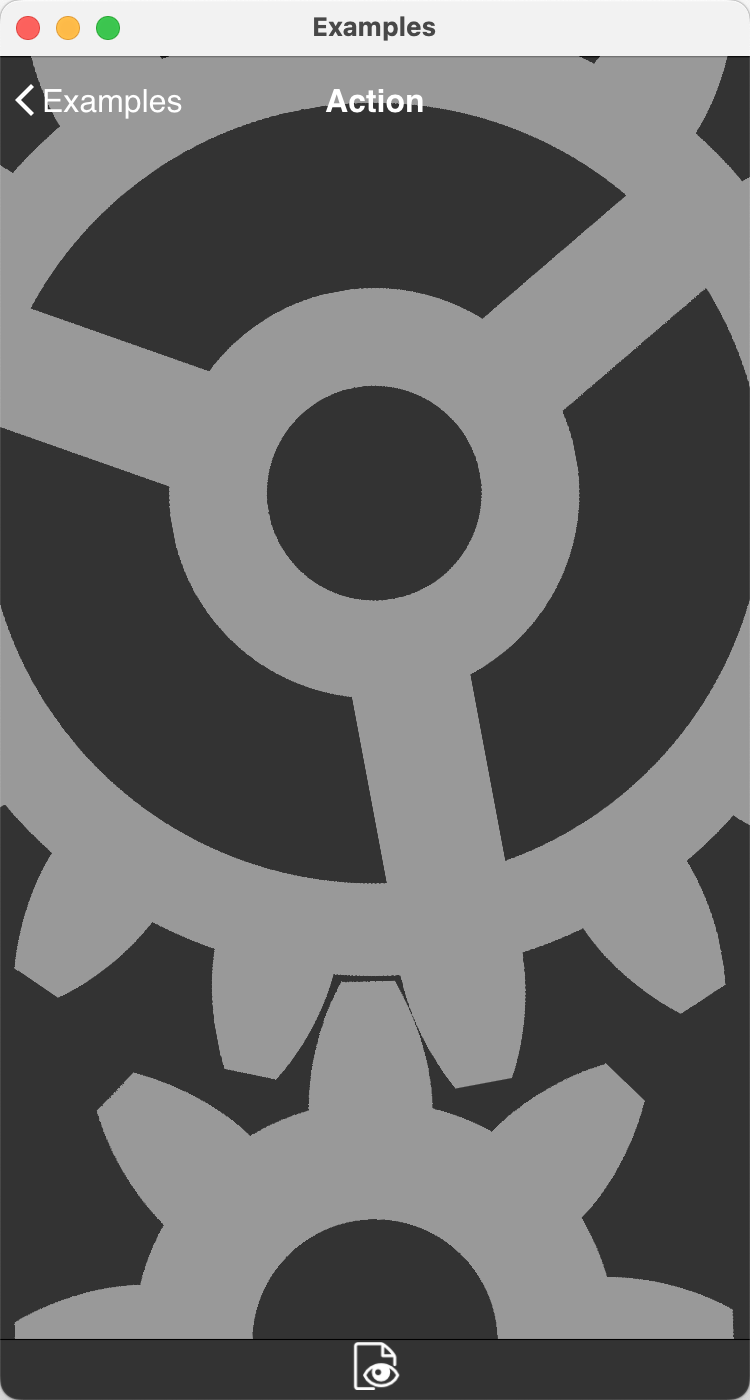
# 动作(Action)
什么是动作呢?顾名思义它是管理运行环境中所有动作的中枢,通俗点讲就是动画。它也是总个框架核心组件之一,它提供动作的创建、删除、插入,以及提供对关键帧与过渡的诸多操作。关键帧的过渡可以使用三次贝塞尔曲线,或内置的曲线 `linear`/`ease`/`easeIn`/`easeOut`/`easeInOut`,这也和大多数主流框架以及游戏引擎类似。
## 动作是什么原理?
动作怎么驱动视图进行流畅运动的呢?其实原理很简单,可以把动作系统看做一个独立的系统与视图或渲染完全不相关。它们之间的关系是动作自身的变化最终会映射调视图,这个过程是通过调用视图暴露的公有方法或属性来完成的,过程完全是单向的,且视图不会向动作发出任何指令。
比如说现在创建了一个新的关键帧动作,给它设置两个关键帧,且x的值经过1秒钟从0变化到100。动作自身发生变化时通过调用绑定视图的API改变视图布局属性。这个过程视图是被动的,而动作是主动的。
```ts
import { Application,Window,Box,KeyframeAction } from 'quark'
var app = new Application();
var win = new Window();
var box = new Box(win);
var act = new KeyframeAction(win);
act.add({ x: 0, time: 0 });
act.add({ x: 100, time: 1e3/*毫秒*/ });
box.width = 50;
box.height = 50;
box.backgroundColor = '#f00';
box.action = act;
box.appendTo(win.root);
act.loop = 1000;
act.play();
```
## 动作类型
以下是框架提供的几个类型与继承联系
* [Action]
* [SpawnAction]
* [SequenceAction]
* [KeyframeAction]
## Action
这是所有动作的基础类型,也是抽象类型不可以直接被实例。
提供了一些基本的api操作,`播放`,`停止`,`跳转` 等,具体可查看API手册。
## SpawnAction
并行动作顾名思义即就是它的子动作都是并行运行的。并且以最长子动作的时长做为自身的时长来执行动作,较短时长的子动作则在结尾等待动作的结束或一个循环的的终止。
## SequenceAction
串行动作这个比较好理解,子动作一个接着一个执行,全部执行完成后结束或开始新的循环。
# KeyframeAction与Keyframe
关键帧动作这是动作系统的核心。所有动作的实现均在这里完成它是动作系统基本单元,前面的[SpawnAction]与[SpawnAction]只有包含[KeyframeAction]类型的动作才有真正的义意。
而关键帧动作又包含理更加基本的元素[Keyframe],关键帧的属性与`CSS`属性是完全同名的且包含全部视图上可以变化的全部属性,比如[Matrix]有`x`属性而[Keyframe]上也有`x`属性,但[Keyframe]上有的属性如果视图上并不存在,那么这个属性对视图是无效的,比如[View]上就不存在`width`属性,所以`width`的改变不会影响到[View],但如果绑定的视图是[Box]那么`width`的改变就会影响到它,这与`CSS`样式表类似。
看下面的例子:
```js
// 这是有效的动作
var act1 = new KeyframeAction(win);
var box1 = new Box(win);
box1.backgroundColor = '#f00';
act1.add({ width: 10, height: 10 });
act1.add({ width: 100, height: 100, time: 1e3 });
box1.action = act1;
act1.paly();
// 这是无效的
var act2 = new KeyframeAction(win);
var view = new View(win);
act2.add({ width: 10, height: 10 });
act2.add({ width: 100, height: 100, time: 1e3 });
view.action = act2;
act2.paly();
```
# View.onActionKeyframe与View.onActionLoop
这两个事件是由动作产生并发送的。
* `View.onActionKeyframe`为动作执行到达关键帧时触发。因为画面渲染是固定的帧率,触发总是发生在帧的渲染时,所以可能会与理想中的时间值有所误差提前或延后,这个延时值会保存在事件数据的`delay`上。提前为负数,延时为正数。
* `View.onActionLoop`动作循环开始时触发,第一次执行动作并不会触发。同样它也会有延时,也同样记录在`delay`。
[`Examples`]: https://github.com/louis-tru/quark/tree/master/examples
[`Xcode`]: https://developer.apple.com/library/content/documentation/IDEs/Conceptual/AppDistributionGuide/ConfiguringYourApp/ConfiguringYourApp.html
[`Android Studio`]: https://developer.android.com/studio/projects/create-project.html
[`Android APK`]: https://github.com/louis-tru/quark/releases/download/v0.1.0/examples-release.apk
[`NPM`]: https://www.npmjs.com/package/qkmake
[`Source code`]: https://github.com/louis-tru/quark
[Action]: https://quarks.cc/doc/action.html#class-action
[SpawnAction]: https://quarks.cc/doc/action.html#class-spawnaction
[SequenceAction]: https://quarks.cc/doc/action.html#class-sequenceaction
[KeyframeAction]: https://quarks.cc/doc/action.html#class-keyframeaction
[Keyframe]: https://quarks.cc/doc/action.html#class-keyframe
[View]: https://quarks.cc/doc/view.html#view
[Box]: https://quarks.cc/doc/view.html#box
[View.action]: https://quarks.cc/doc/view.html#view-action
[View.transition()]: https://quarks.cc/doc/view.html#view-transition-to-from-cb-actioncb-
[Notification]: https://quarks.cc/doc/_event.html#class-notification
[ScrollView]: https://quarks.cc/doc/view.html#scrollview
[MatrixView]: https://quarks.cc/doc/view.html#matrixview
[TextOptions]: https://quarks.cc/doc/view.html#textoptions
[View]: https://quarks.cc/doc/view.html#class-view
[Free]: https://quarks.cc/doc/view.html#class-free
[Box]: https://quarks.cc/doc/view.html#class-box
[Flex]: https://quarks.cc/doc/view.html#class-flex
[Flow]: https://quarks.cc/doc/view.html#class-flow
[Image]: https://quarks.cc/doc/view.html#class-image
[Root]: https://quarks.cc/doc/view.html#class-root
[BasicScroll]: https://quarks.cc/doc/view.html#class-basicscroll
[Scroll]: https://quarks.cc/doc/view.html#class-scroll
[Button]: https://quarks.cc/doc/view.html#class-button
[Text]: https://quarks.cc/doc/view.html#class-text
[Input]: https://quarks.cc/doc/view.html#class-input
[Textarea]: https://quarks.cc/doc/view.html#class-textarea
[Label]: https://quarks.cc/doc/view.html#class-label
[Video]: http://quarks.cc/doc/media.html#class-video
[Matrix]: http://quarks.cc/doc/media.html#class-matrix
[Sprite]: http://quarks.cc/doc/media.html#class-sprite
[Spine]: http://quarks.cc/doc/media.html#class-spine